Totally Accurate Battle Simulator looks chaotic, silly, and unpredictable at first glance—but at higher levels of play, it becomes a surprisingly deep tactical sandbox. The key to dominating battles isn’t random unit spam or funny army combos; it’s an understanding of army structure, unit synergy, and situational counter-building.
This guide focuses on one advanced topic: how to build powerful armies that consistently win across all maps, enemy factions, and difficulty challenges. The goal is not general advice—here, we break down the logic behind formations, unit pairings, and faction synergy in TABS.
Understanding Unit Roles
Every strong TABS lineup begins with understanding what each unit type brings to the battlefield. TABS is designed around role-based combat. Units are not balanced equally; each excels in a specific job.
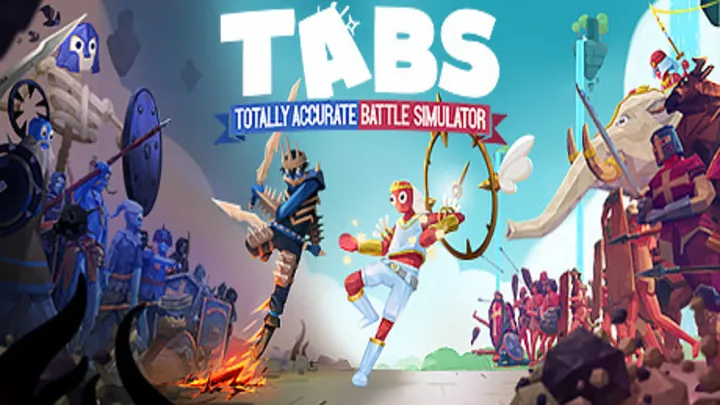
Primary roles include:
- Tanks: front-line units that soak damage (Shield Bearers, Kings)
- Damage Dealers: high output units (Zeus, Samurai Giants)
- Crowd Control: stun, freeze, or knockback units (Ice Archers, Valkyries)
- Backline Support: ranged attackers and buffers (Ballista, Priests)
- Assassins: fast units that penetrate the backline (Ninjas, Reapers)
Understanding these roles helps you assemble lineups with synergy instead of random chaos.
Building a Balanced Front Line
Your front line determines how long your backline survives. This is the most important structural part of your army. Many beginners waste money on expensive units but forget to create a stable shield wall, leaving their army exposed.
Good front lines absorb damage, stall enemy charges, and create space for your ranged or heavy units. Shield units and tanks are essential here. Even cheap Protector shields from the Tribal faction create surprising stability in early-game battles.
A strong front line should:
- Hold enemy melee units
- Disrupt the first wave of attackers
- Buy time for your special units to activate
- Keep your army formation intact
Without a front line, your backline dies instantly—no matter how strong your units are.
Using Ranged Units Effectively
Ranged units are deadly in TABS, but only when protected. They require time and space to fire safely. Units like Ballista, Archers, Deadeye, and Musketeers can decide battles, but only if enemy melee units never reach them.
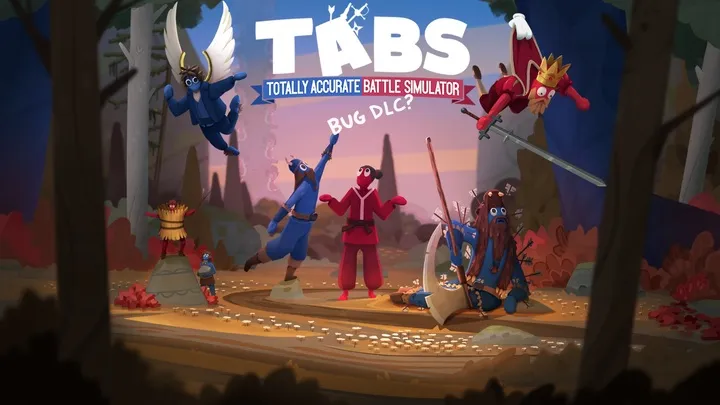
The trick is spacing. Put your ranged units behind your tanks but far enough apart that AOE hits don’t kill multiple units at once. Long-range units can cause friendly fire, so formation spacing is essential.
Good usage principles:
- Keep long-range units on high ground
- Use tanks or halberds to guard their flanks
- Place them off-center if expecting cavalry charges
- Add Ice Archers to slow enemy movement
Because TABS relies heavily on physics, proper spacing increases the damage output and reduces chaos.
Countering Enemy Factions
Each enemy faction has distinct strengths and weaknesses. To win consistently, you must counter-build with intention.
Viking Faction: loves aggressive rushdowns.
Counter: shield walls + ranged + CC units.
Dynasty Faction: unpredictable movement and dodging.
Counter: wide formations + AOE units like Catapults.
Medieval Faction: heavy tanks and healers.
Counter: stun units + high DPS units like Samurai Giants or Reapers.
Secret Faction: powerful gimmick units.
Counter: long-range artillery + spread formation.
Learning counters makes battles predictable instead of chaotic.
Mastering Unit Synergy
TABS battles are won through synergy—units working together to amplify strengths. Combining random units rarely leads to consistent success.

Strong synergy examples:
- Shield Bearers + Archers: classic tank and ranged combo
- Ice Archers + Valkyries: freeze enemies, then sweep in from above
- Ballista + Hoplites: Hoplites keep melee away so Ballista can fire
- Reaper + Skeleton Warriors: create chaos while cheap units overwhelm
Think of your army as a living machine. Every unit must support another.
Exploiting Terrain and Map Layouts
Terrain is a hidden weapon in TABS. Elevation, chokepoints, bridges, cliffs, and water areas change battle outcomes dramatically.
Key terrain tactics:
High ground:
Put ranged units and artillery here for increased accuracy.
Chokepoints:
Use tanks or shield units to block narrow gaps.
Open fields:
Use cavalry, giants, and large AOE units.
Cliff maps:
Use knockback units to throw enemies off the map.
If you master terrain manipulation, even cheap units can defeat expensive armies.
Formation Patterns That Actually Work
Formation matters more in TABS than players think. Good formations maximize unit efficiency and prevent early chaos.
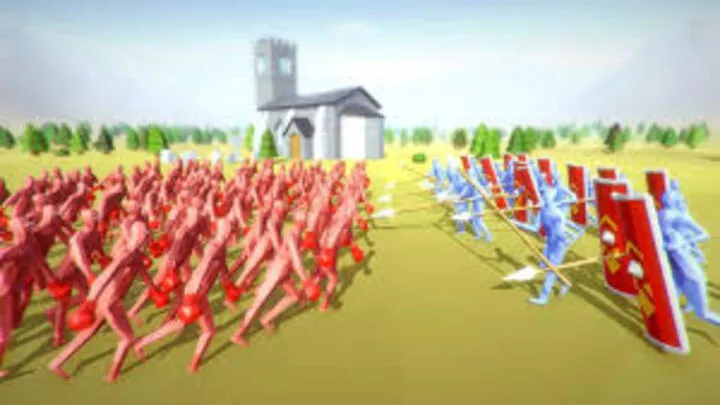
Three effective formations:
The Classic Shield Wall
Front: Shields
Mid: Spears or Halberds
Back: Archers or Musketeers
The Double-Tier Defense
Layer 1: Tanks
Layer 2: CC or mid-range
Layer 3: Heavy artillery
The Flank Attack Formation
Center: Tanks
Left/Right: Fast flankers (Knights, Valkyries)
Back: Ranged
Controlling the battlefield begins with controlling formation.
Using Special Units and Giants Wisely
Giants, special units, and legendary units can swing battles—if used properly. They are not invincible and can fail if you misposition them.
Tips:
- Always place giants slightly behind your front line
- Keep them away from tight chokepoints
- Partner them with healers or buffers
- Avoid sending them alone—they get surrounded and die
The most common mistake is placing a single giant in the front. They need support.
Micro-Adjusting for Harder Battles
When you reach late-game levels and challenge maps, micro-adjustment becomes essential.
Micro-adjustment examples:
- Moving tanks left or right by small increments
- Spacing ranged units by 2–3 meters
- Deliberately placing one sacrificial unit to disrupt enemy formation
- Adding one CC unit to stop enemy rush patterns
Winning hard battles often requires two or three revisions of your formation. TABS rewards smart adjustments, not blind luck.
Experimenting and Understanding Chaos Patterns
Finally, the secret to mastering TABS is embracing its physics-based chaos. The more you experiment, the more you start noticing patterns—how certain units behave, what triggers friendly fire, how knockback interacts with terrain.

Keep track of:
- Which units consistently survive
- Which units die too early
- How enemy AI responds to your formations
- Whether your ranged units have time to shoot
With enough experimentation, TABS becomes less “random” and more “predictable chaos.”
Conclusion
Mastering Totally Accurate Battle Simulator requires more than random unit placement—you must understand army roles, build strong formations, counter enemy factions, exploit terrain advantage, and combine units with synergy. When your army acts like a coordinated system instead of a chaotic blob, winning becomes consistent and extremely satisfying.


